English
Appearance
After building your scene, click “AR Agent” in the top-right corner of the Scene Editor to enter the AR Agent creation page.
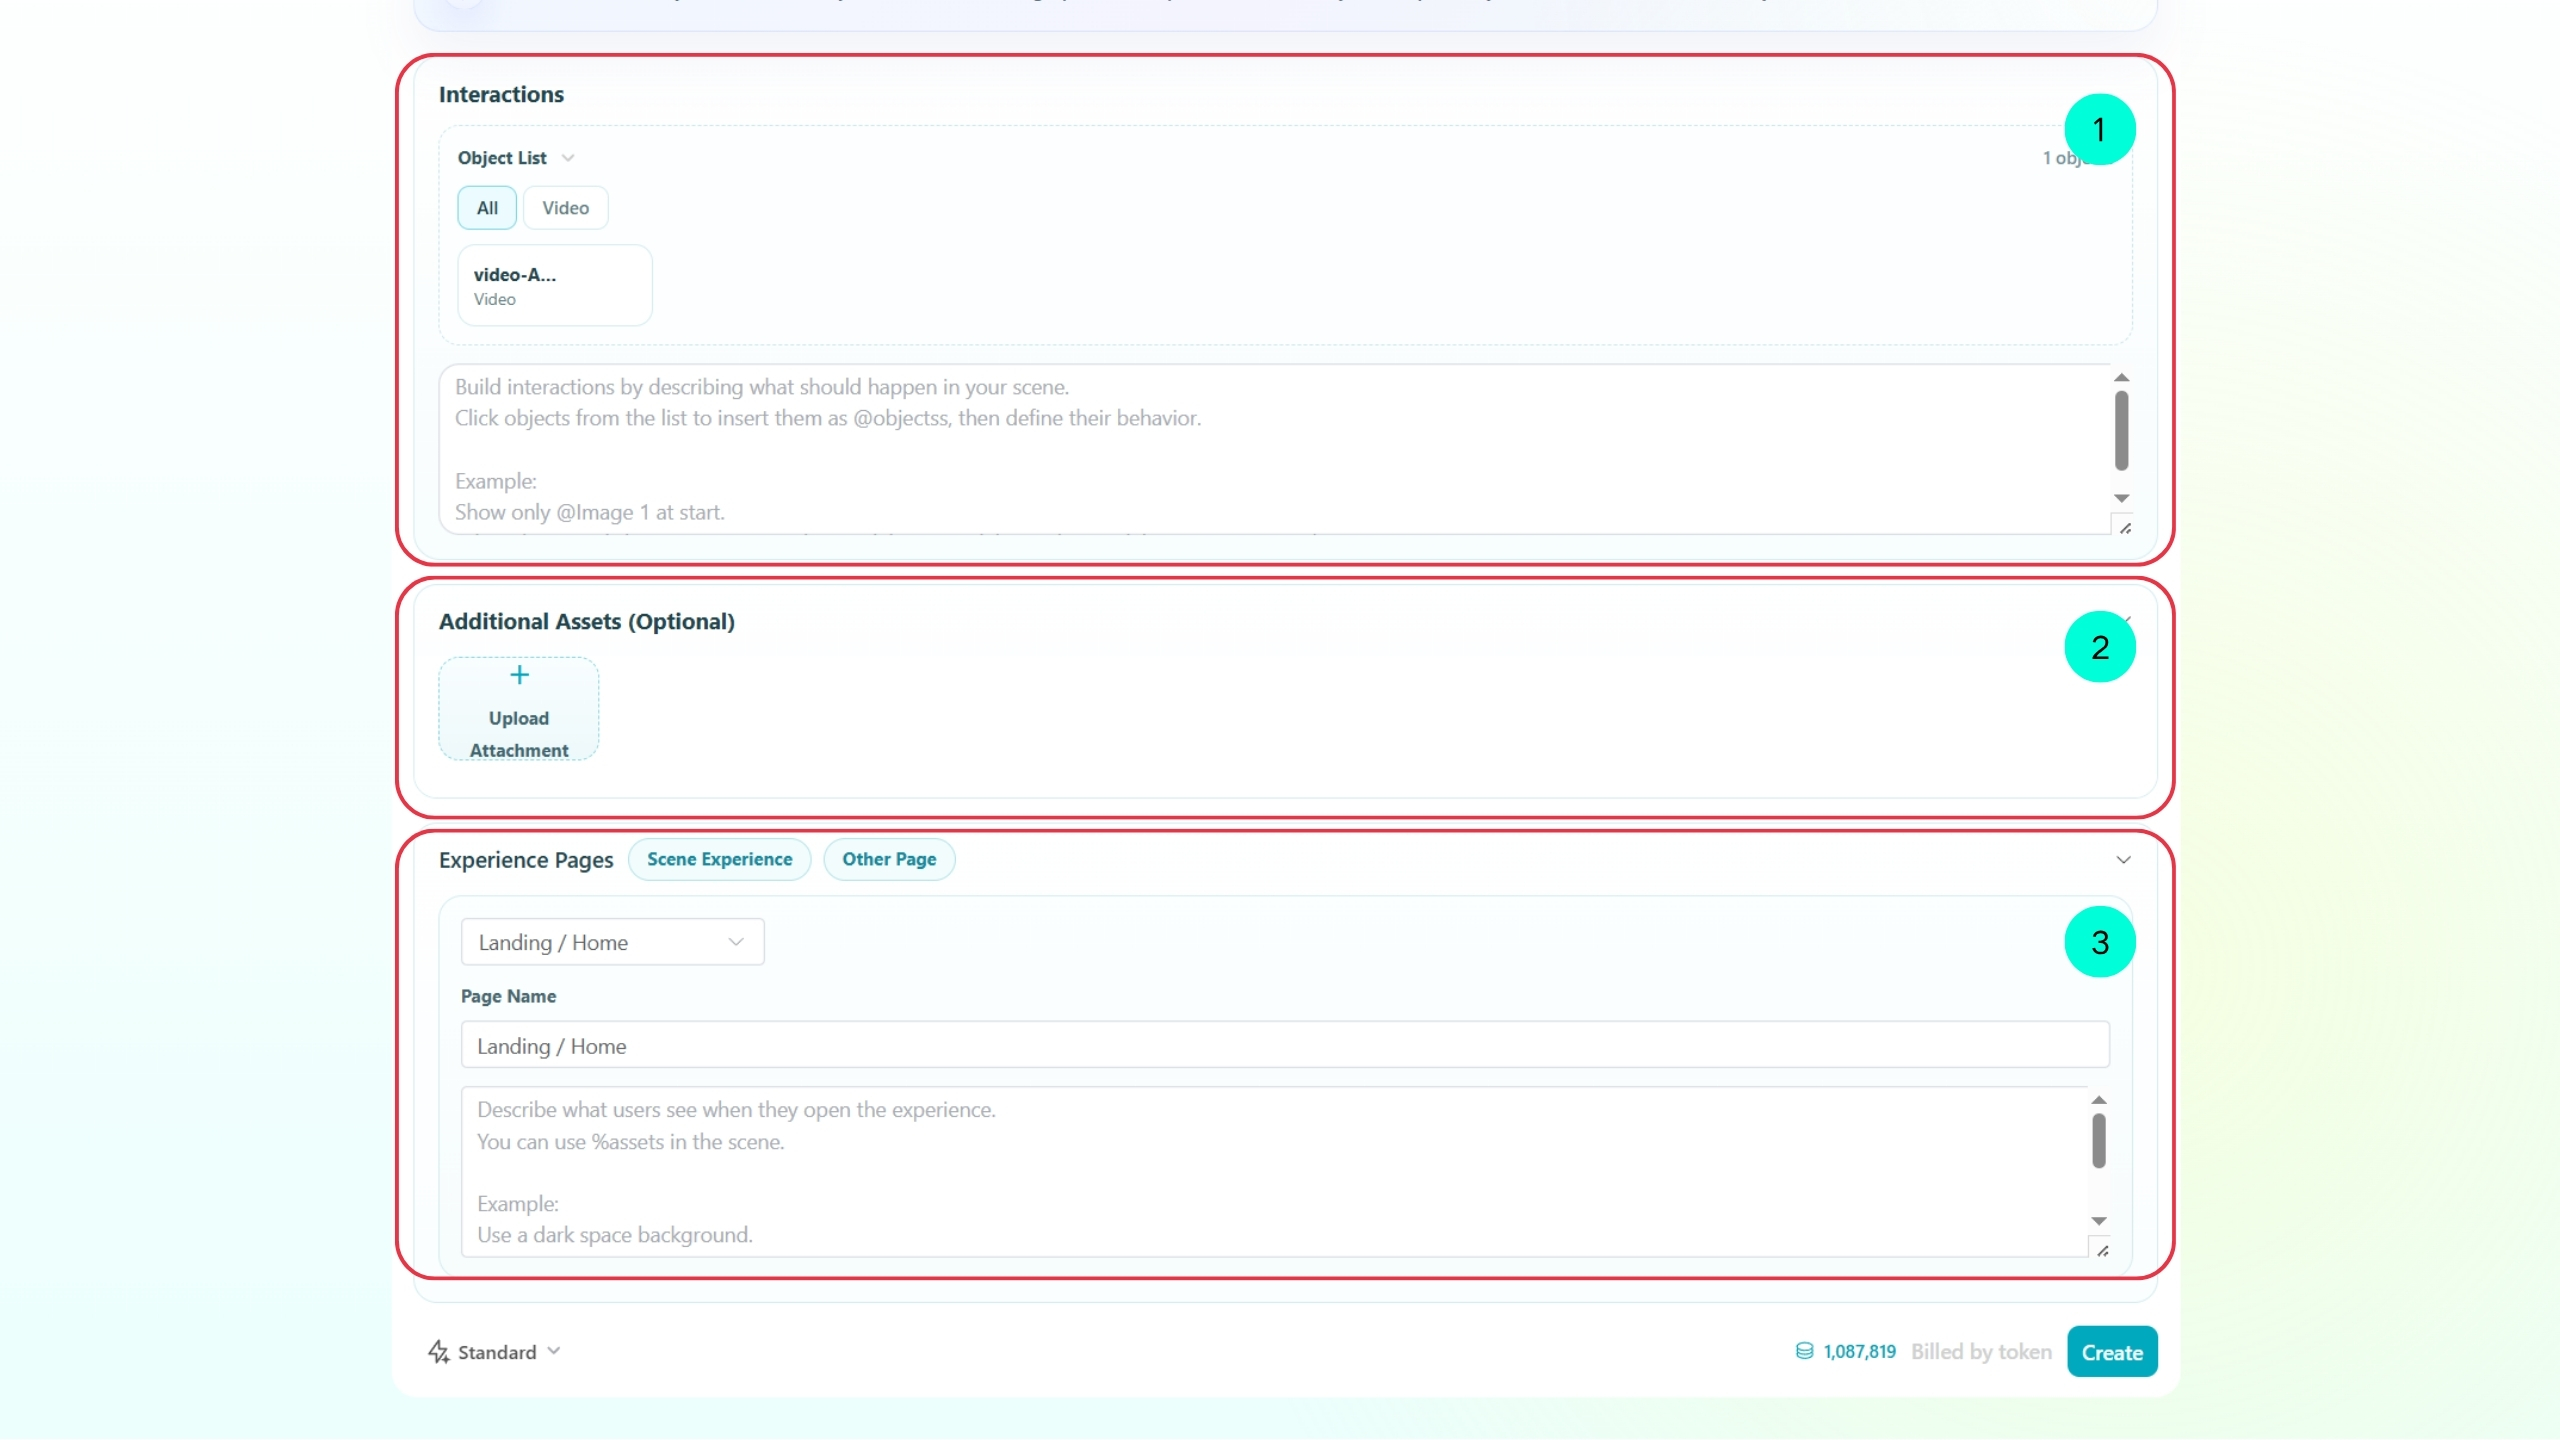
On the AR Agent page, you will see the top toolbar and the prompt area. The prompt area consists of three sections: Interaction, Additional Assets, and Experience Pages.
Describe the overall behavior of your AR scene, including feature actions, trigger conditions, and playback state changes during the AR experience.
Supports uploading various file types, including images, videos, audio files, 3D models, font files, and more.
Select the page type you want to edit based on your needs, such as landing pages, scene experience pages, photo preview pages, and more. Then describe the page content, UI layout, and interaction effects in the prompt area. AI will help you quickly optimize and create the page.
Next, we will provide practical prompt examples to show you how to use the AR Agent to create complex interactions and customized AR interfaces through prompts.
Using prompts to control basic show and hide behaviors is one of the most fundamental features of AR Agent.
You only need to describe when each asset should appear or disappear, along with its animation behavior, in the Interactions prompt area.
Note
When describing an asset, click the corresponding asset from the object list to ensure that it is correctly referenced in the prompt.
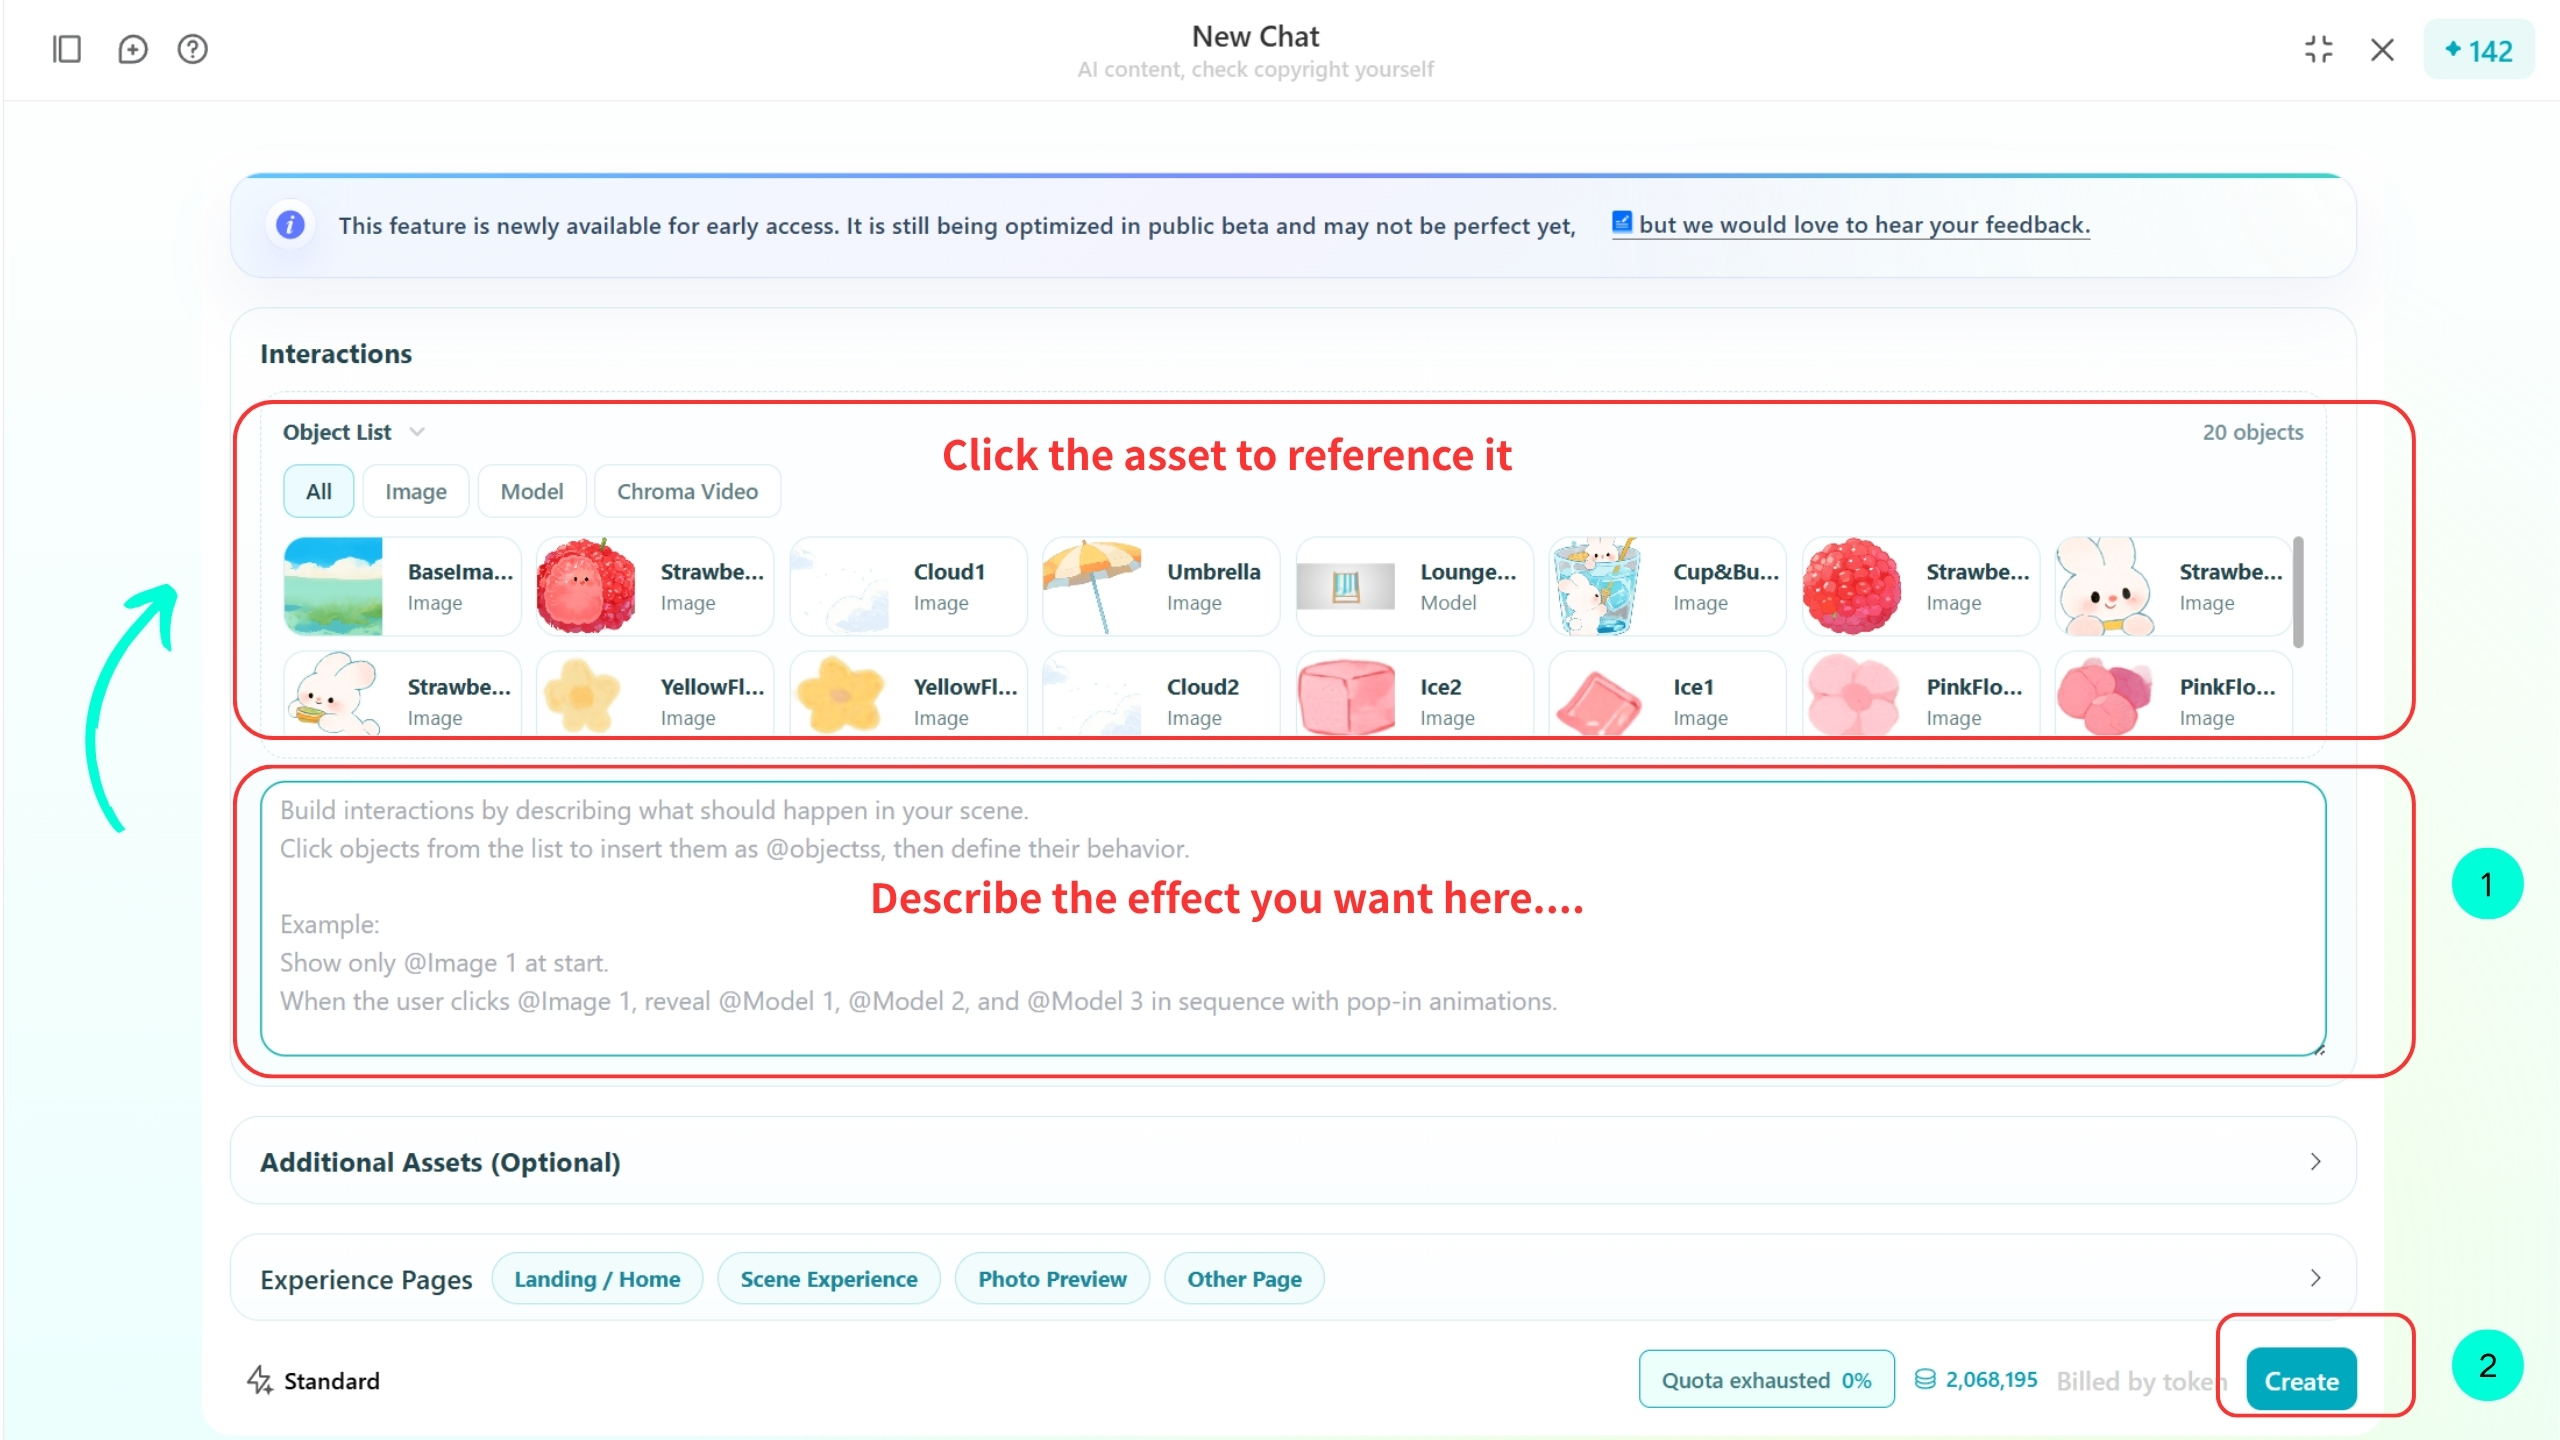
Enter a prompt for interactions:
@BaseImage pops up first;
@Cloud1 @Cloud2 appear sequentially;
@Umbrella @LoungeChair @Strawberry1 @Strawberry1Bunny @Strawberry2 @Strawberry2Bunny @Cup&Bunny appear in order by depth/layer;
@Ice2 @Ice1 @PinkFlower4 @PinkFlower5 @PinkFlower2 @PinkFlower1 @PinkFlower3 @YellowFlower1 @YellowFlower2 pop up together as a group;
Finally, @BunnyVideo appears and loops continuously.
@Cloud1 @Cloud2: float up and down in a continuous loop at the end
@Strawberry1 @Strawberry1Bunny: sway gently in a continuous loop at the end
Re-trigger all AI interactions when the scene is scanned again.
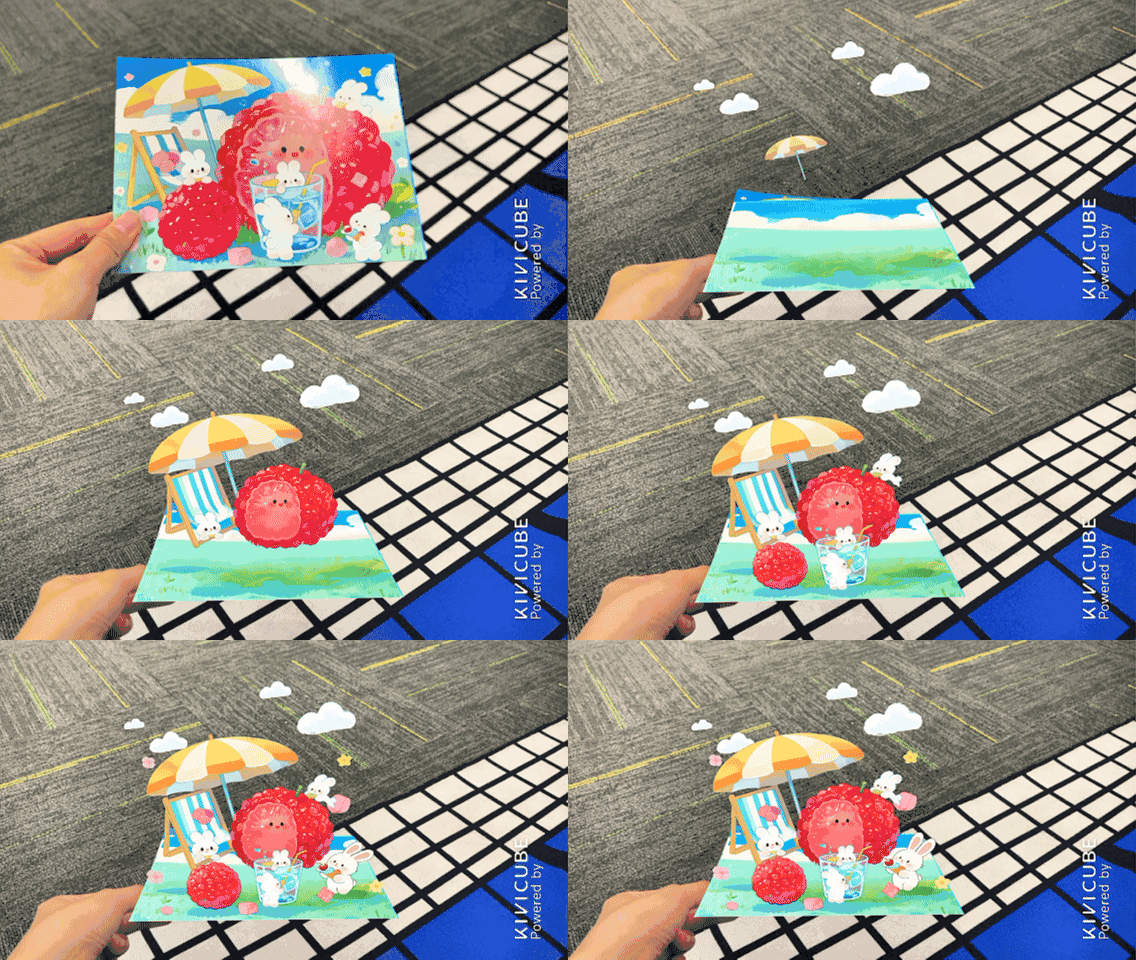
Finally, click the “Create” button in the bottom-right corner. AR Agent will generate a QR code. Scan the QR code to preview the AR experience and see the sequential asset appearance effect.
More interactive effects can be created with AR Agent. Click here to learn more.
Any assets that you want to display on the screen need to be uploaded in the Additional Assets section first.
Then, select the page type you want to create under Experience Pages, and enter prompts in the prompt area to describe how you want the assets to appear on the screen.
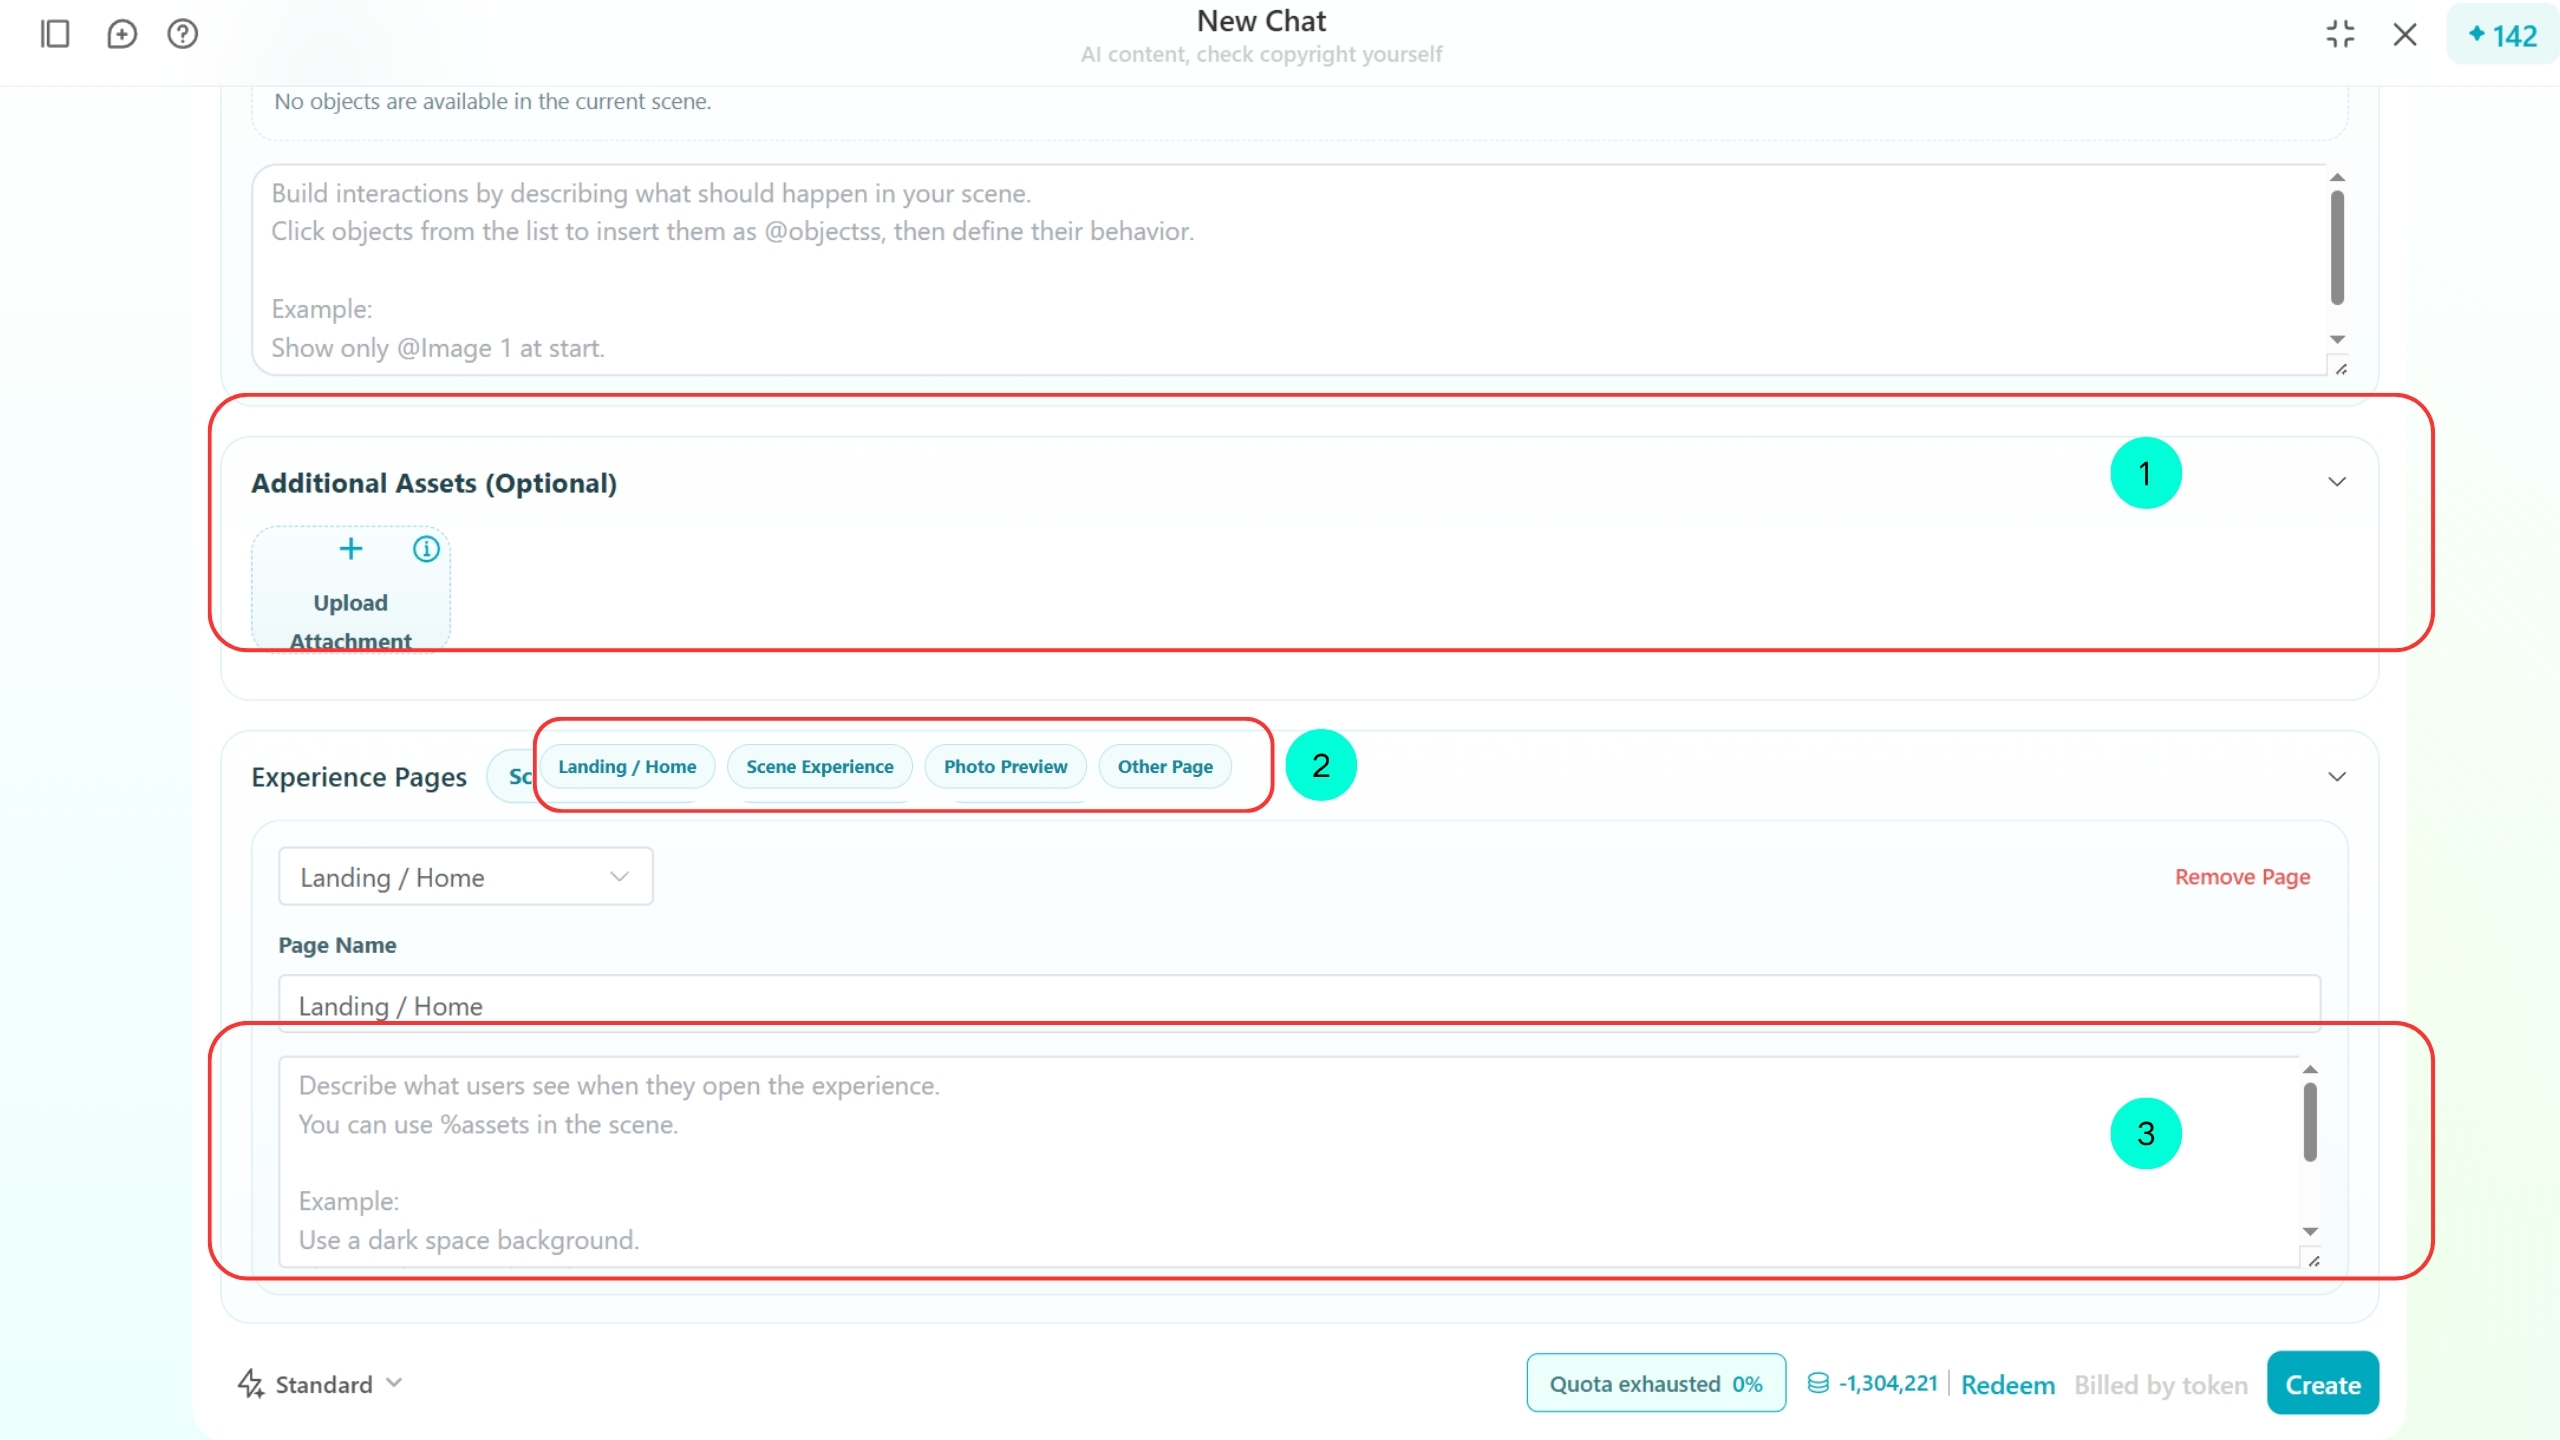
Upload your prepared background and button images in the Additional Assets section first.
Then, select Landing/Home under Experience Pages to open the landing page prompt area. Click the assets from Additional Assets to quickly reference them, and describe the desired layout and effects you want to create. AR Agent will generate the customized landing page based on your instructions.
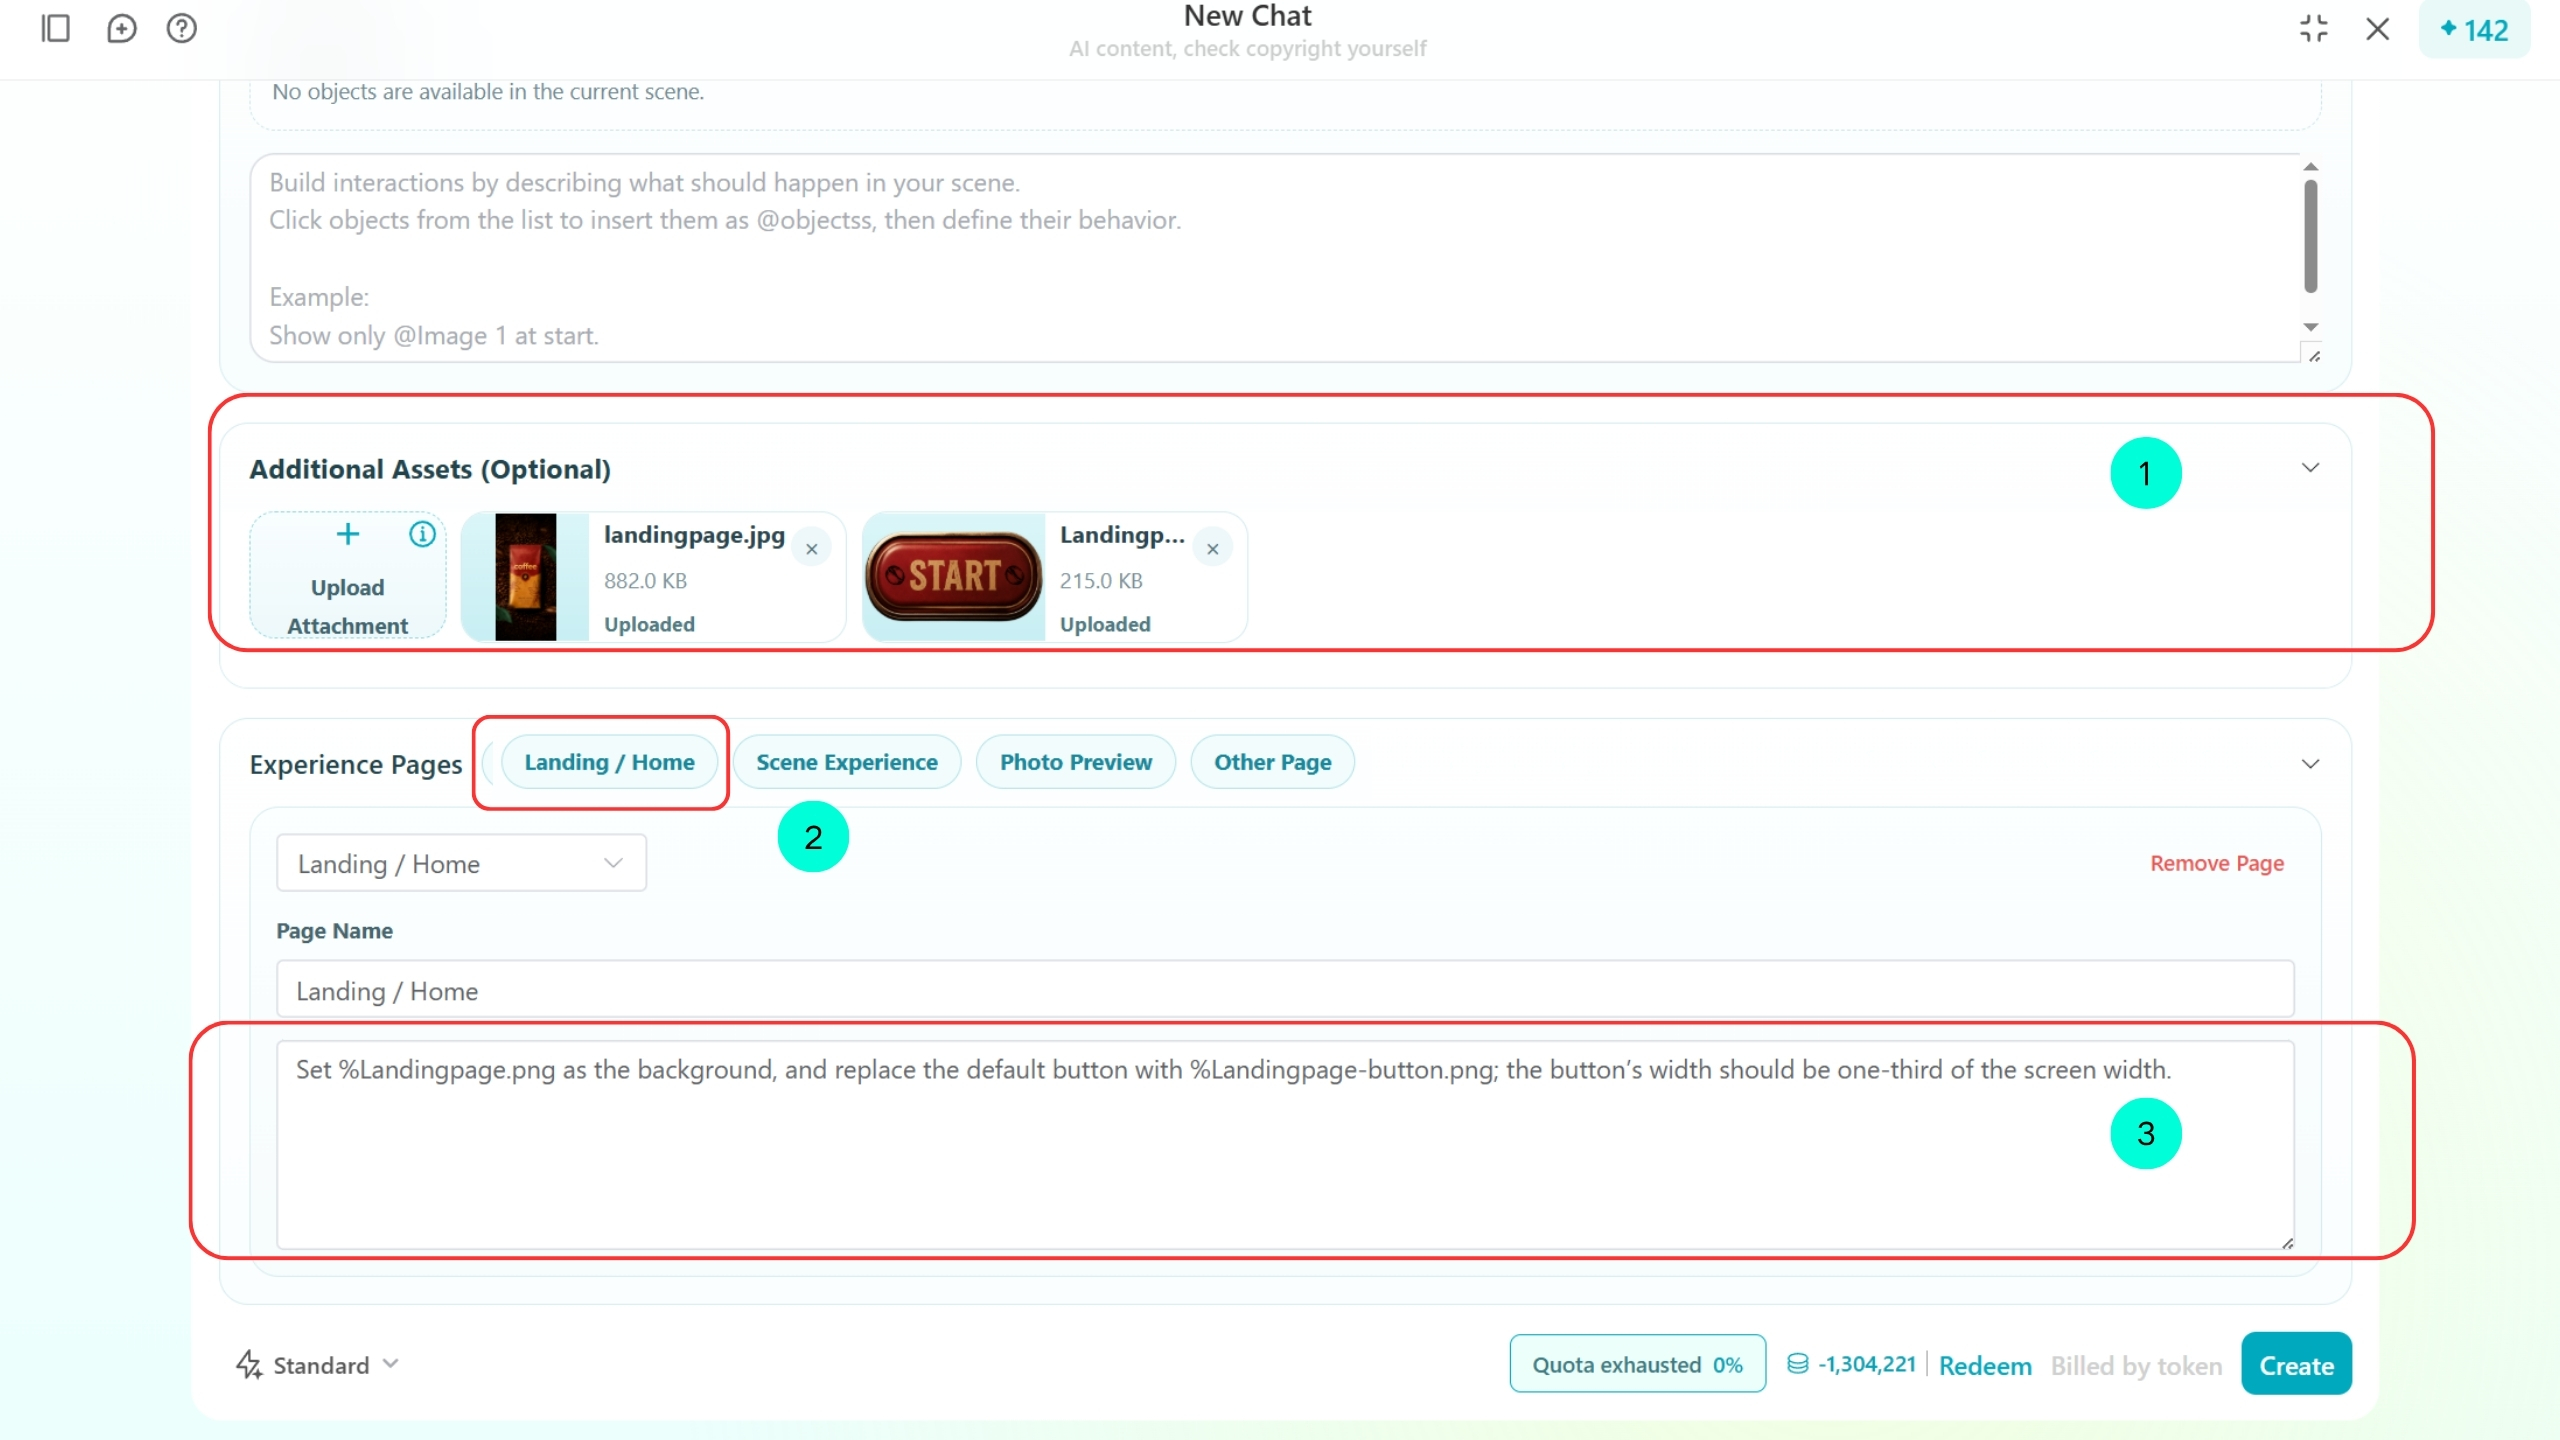
Enter a prompt for Landing / Home:
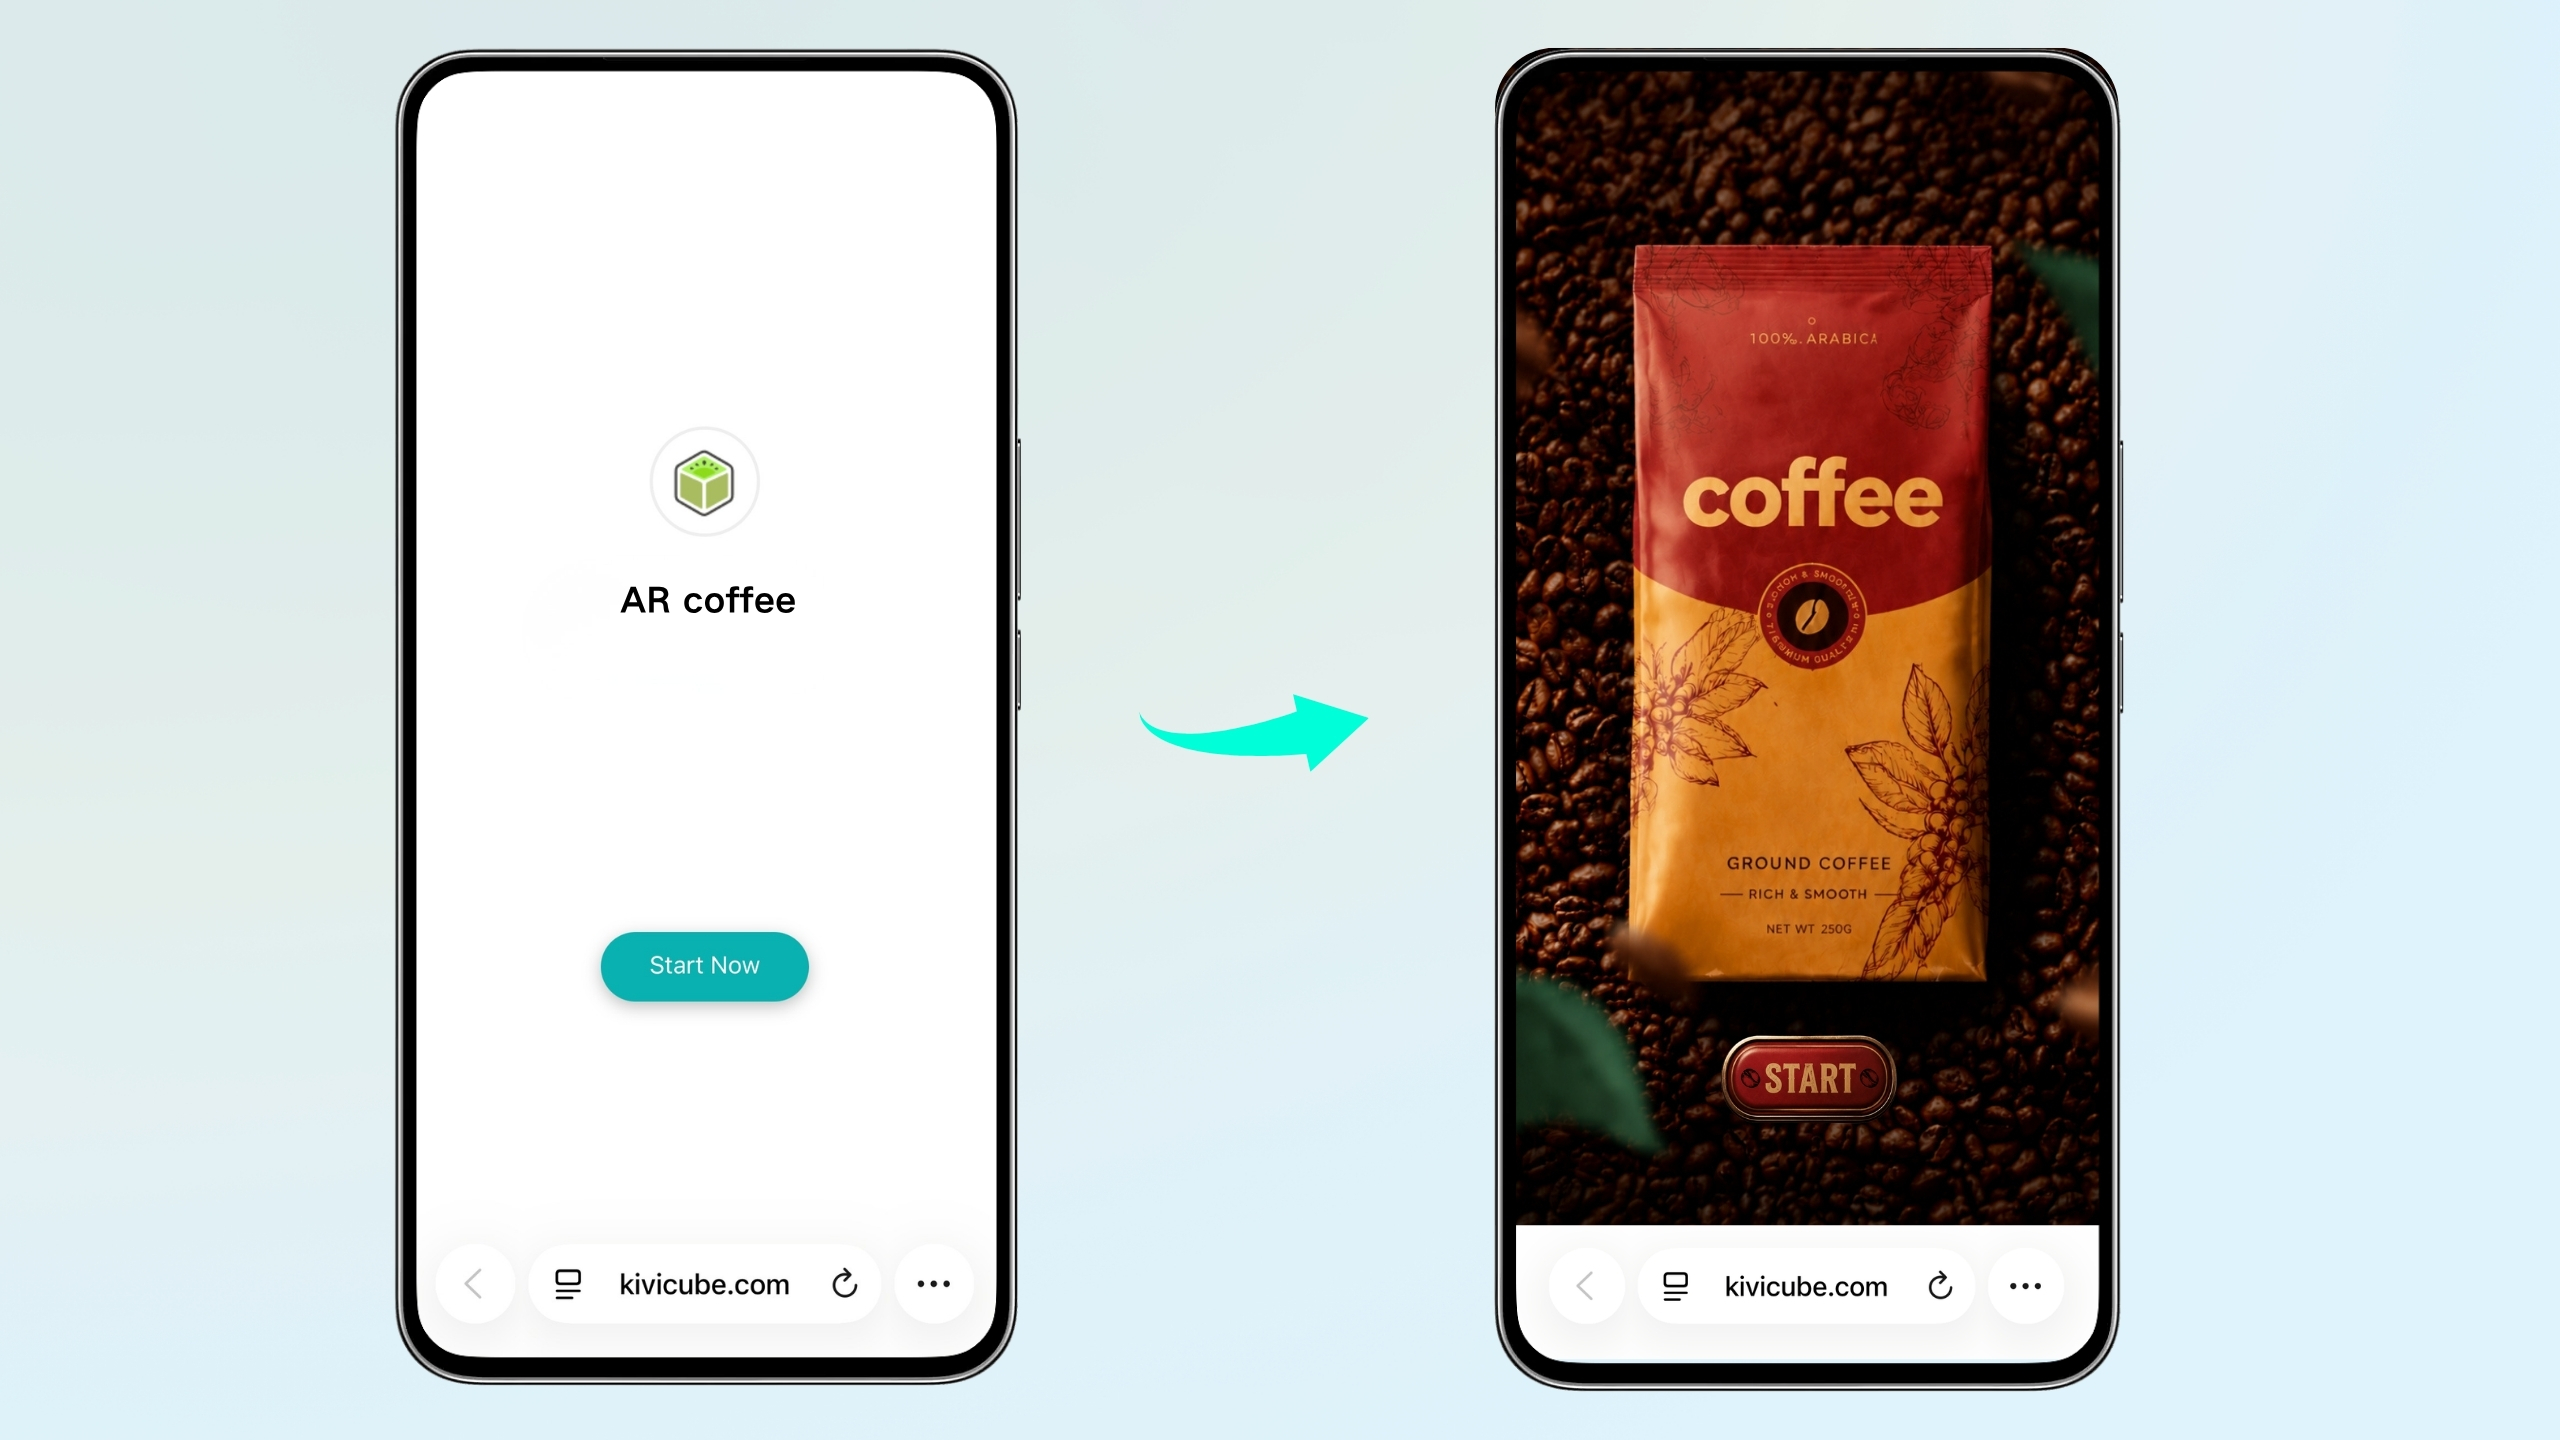
Set %Landingpage.png as the background, and replace the default button with %Landingpage-button.png; the button’s width should be one-third of the screen width.
Click “Create” and scan the QR code to preview the generated AR experience. You will see the final effect as shown below.
Upload the button assets in the Additional Assets section first.
Then, select Scene Experience Page under Experience Pages and describe where you want the buttons to appear on the screen.
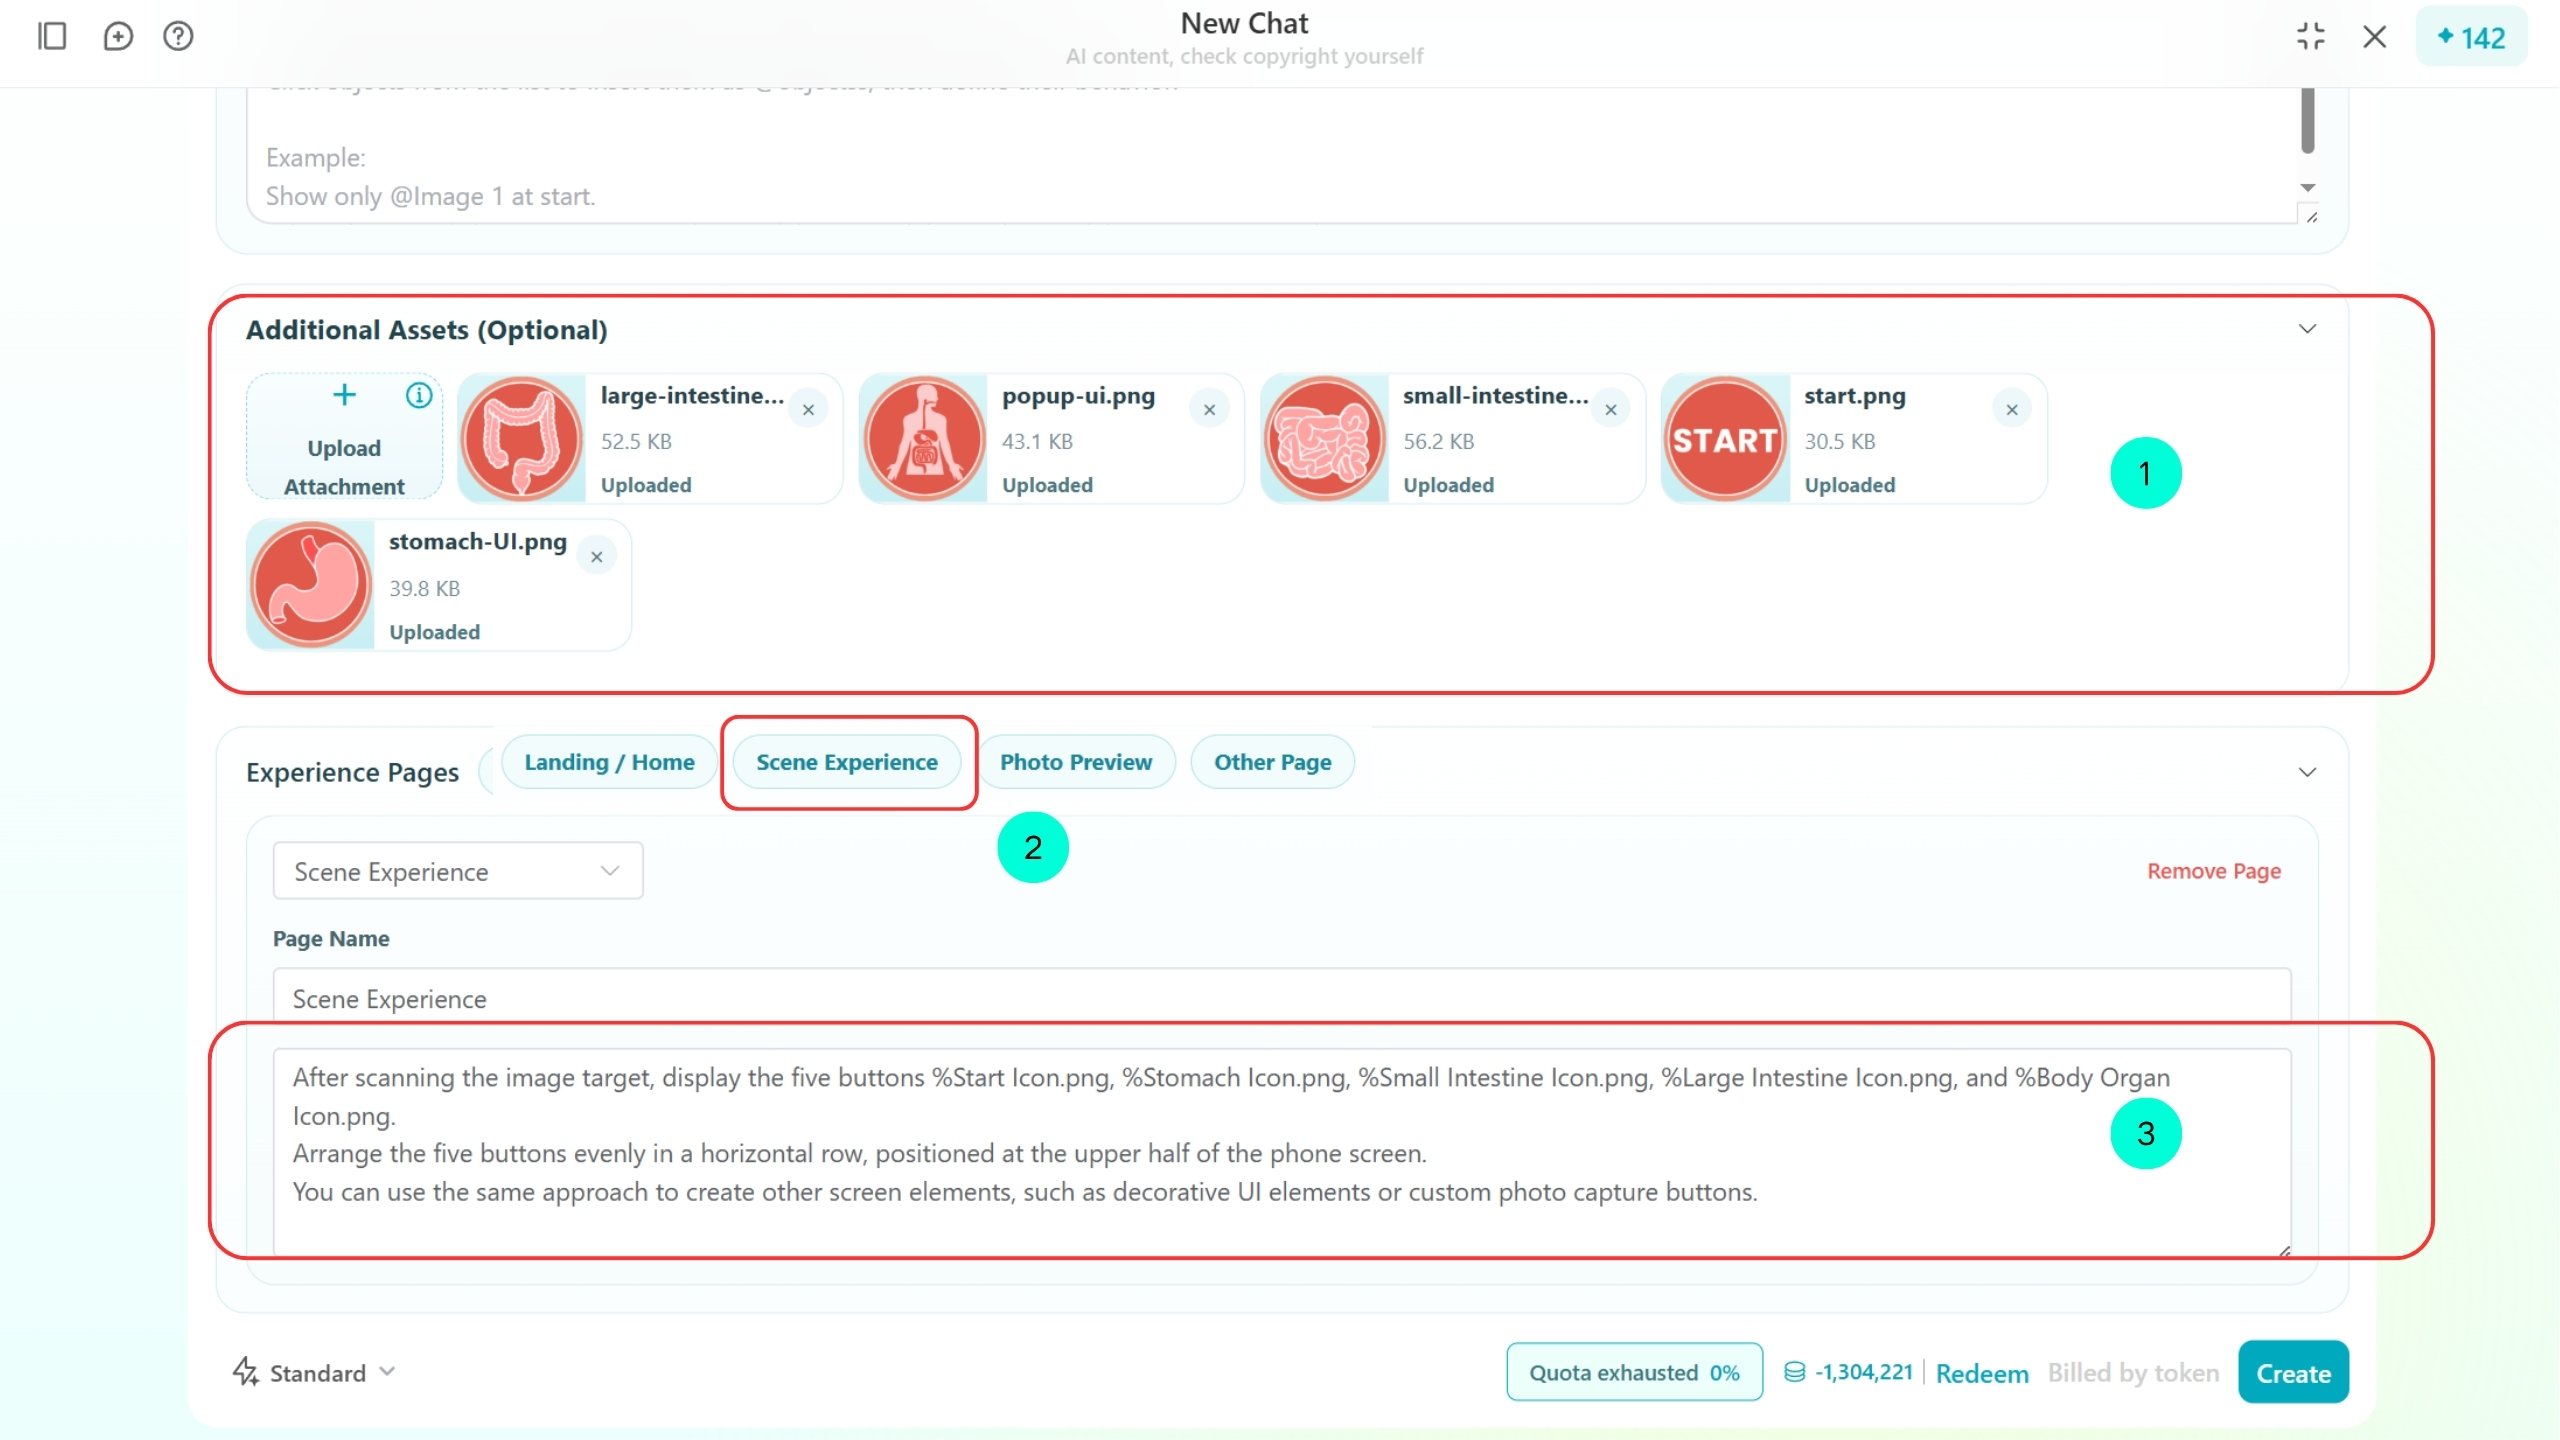
Enter a prompt for Scene Experience:
After scanning the image target, display the five buttons %Start-UI.png, %Stomach-UI.png, %Small-Intestine UI.png, %Large-Intestine UI.png, and %popup-ui.png.
Arrange the five buttons evenly in a horizontal row, positioned at the upper half of the phone screen.
You can use the same approach to create other screen elements, such as decorative UI elements or custom photo capture buttons.
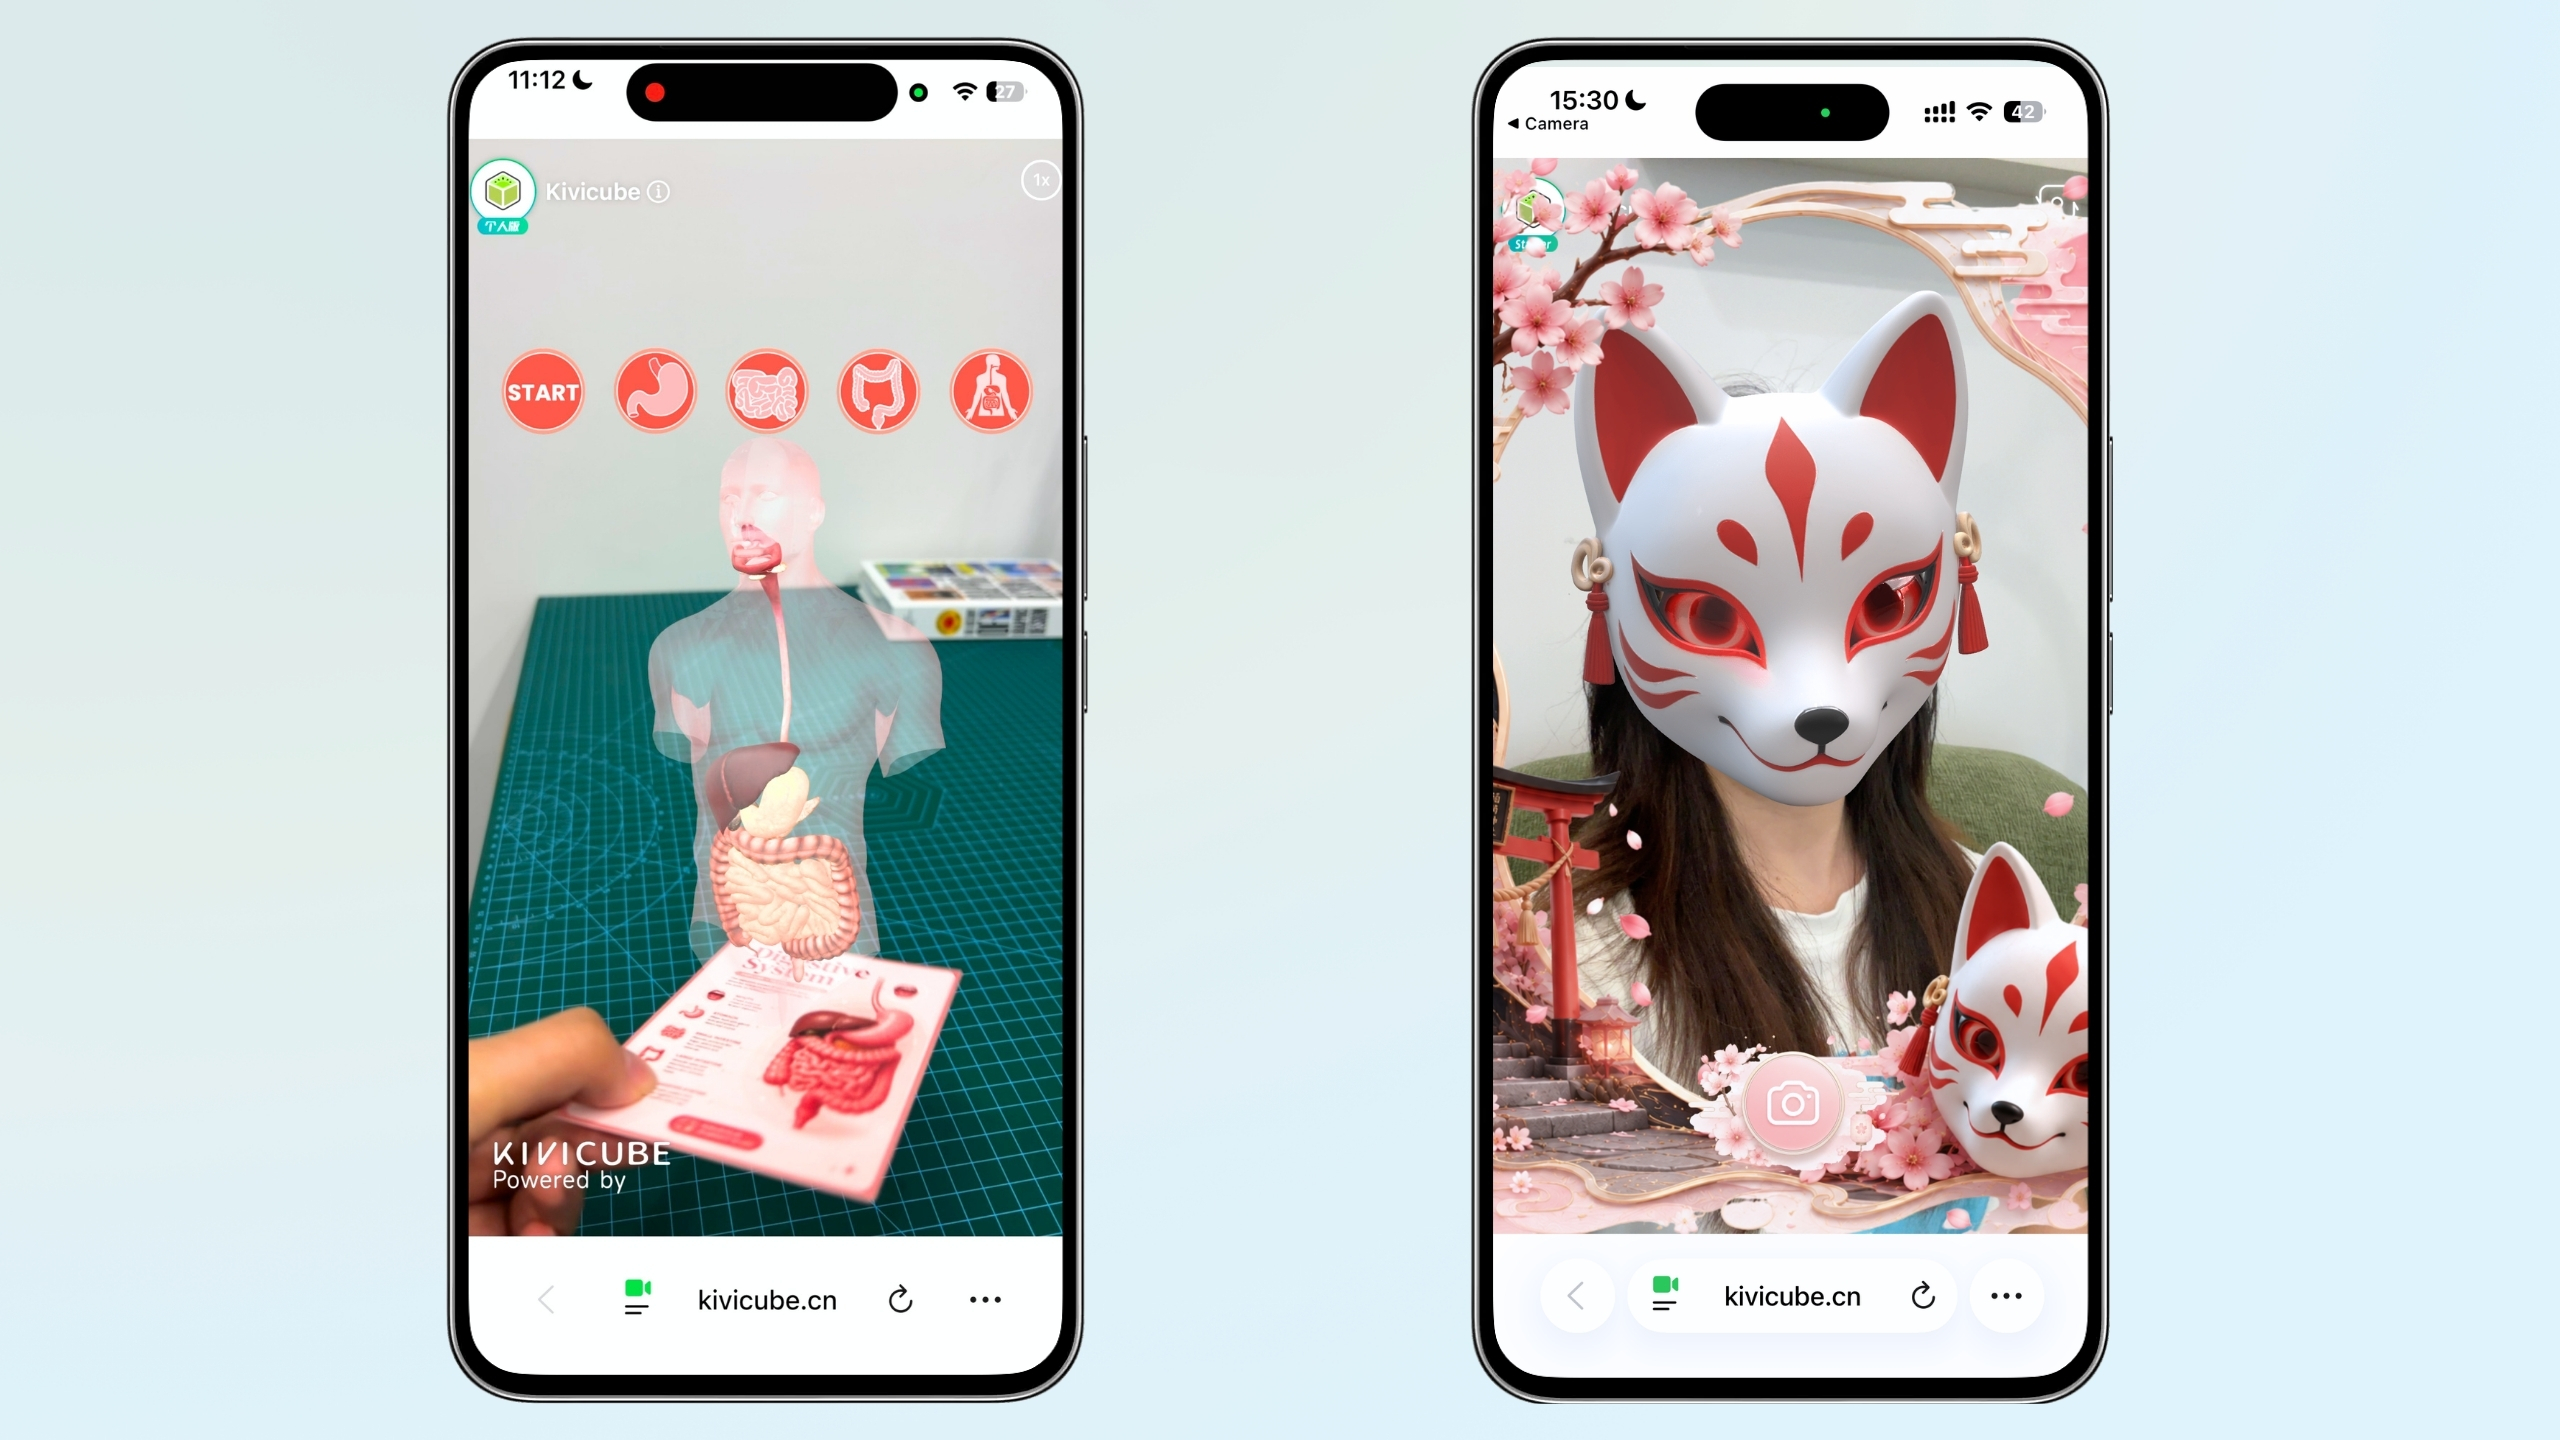
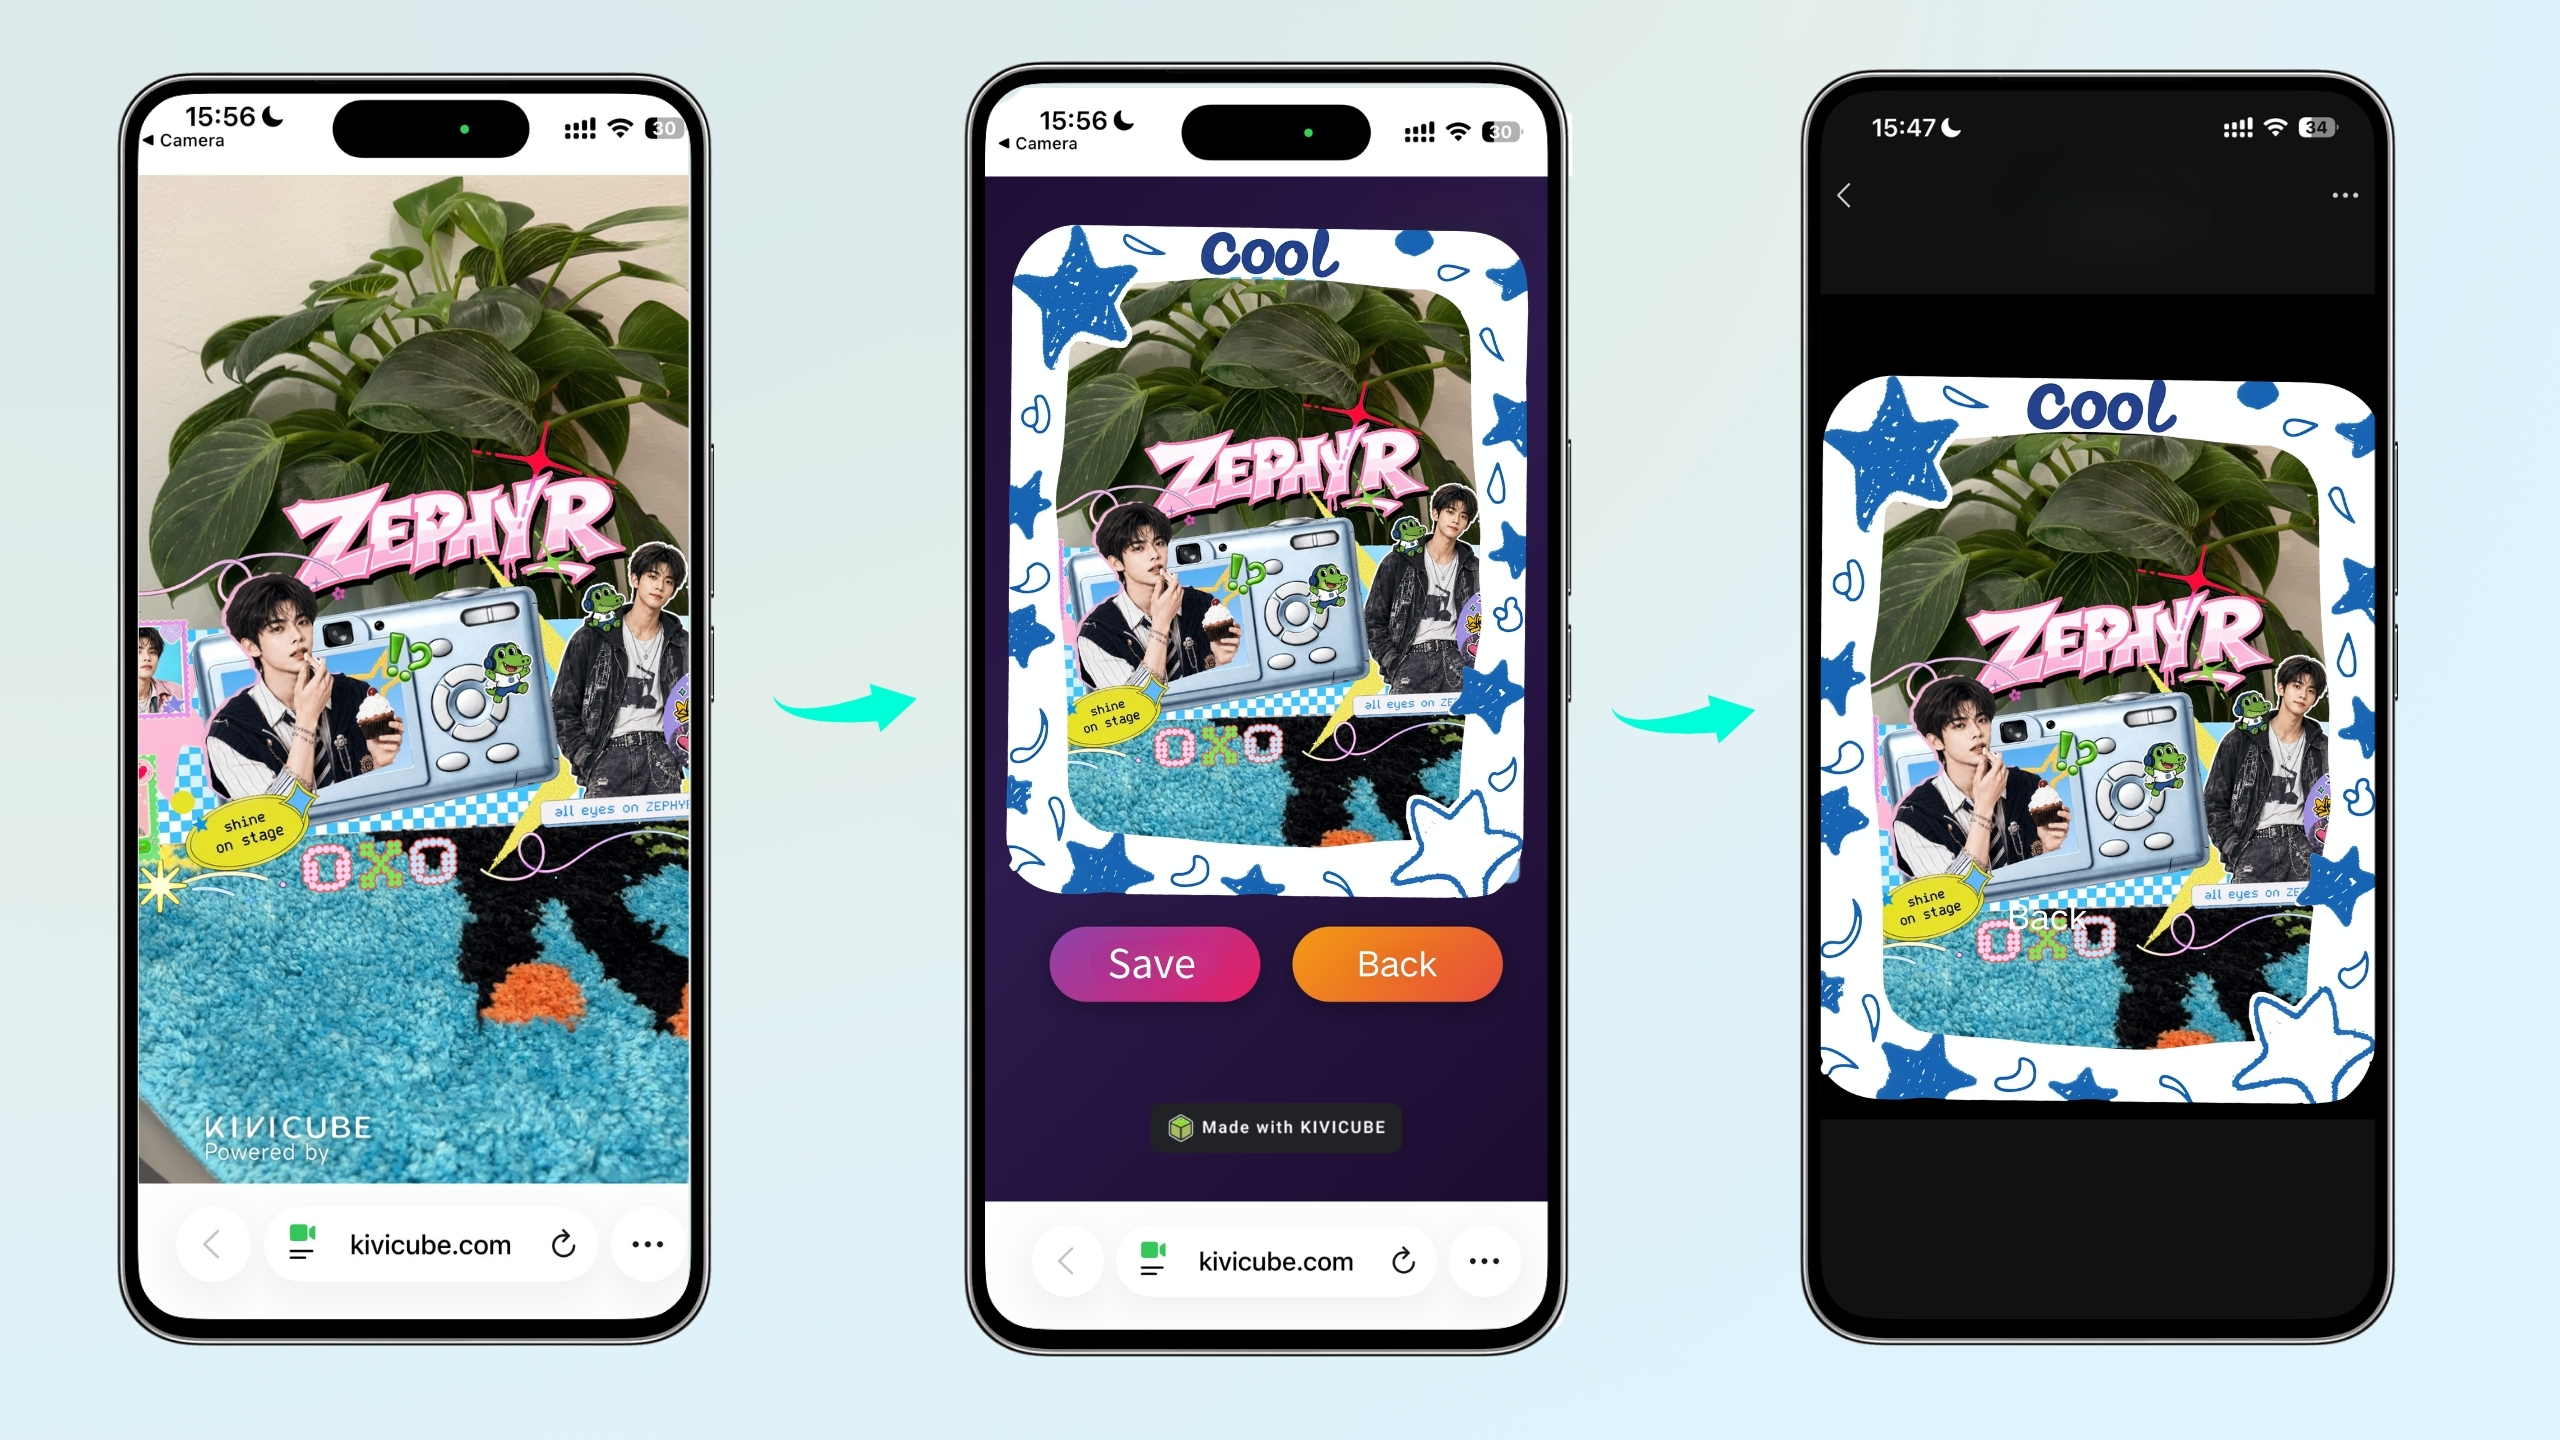
Select Photo Preview Page under Experience Pages, then choose an asset from Additional Assets to use as the photo frame after taking a photo.
Users can save the generated image with the customized frame directly to their device.
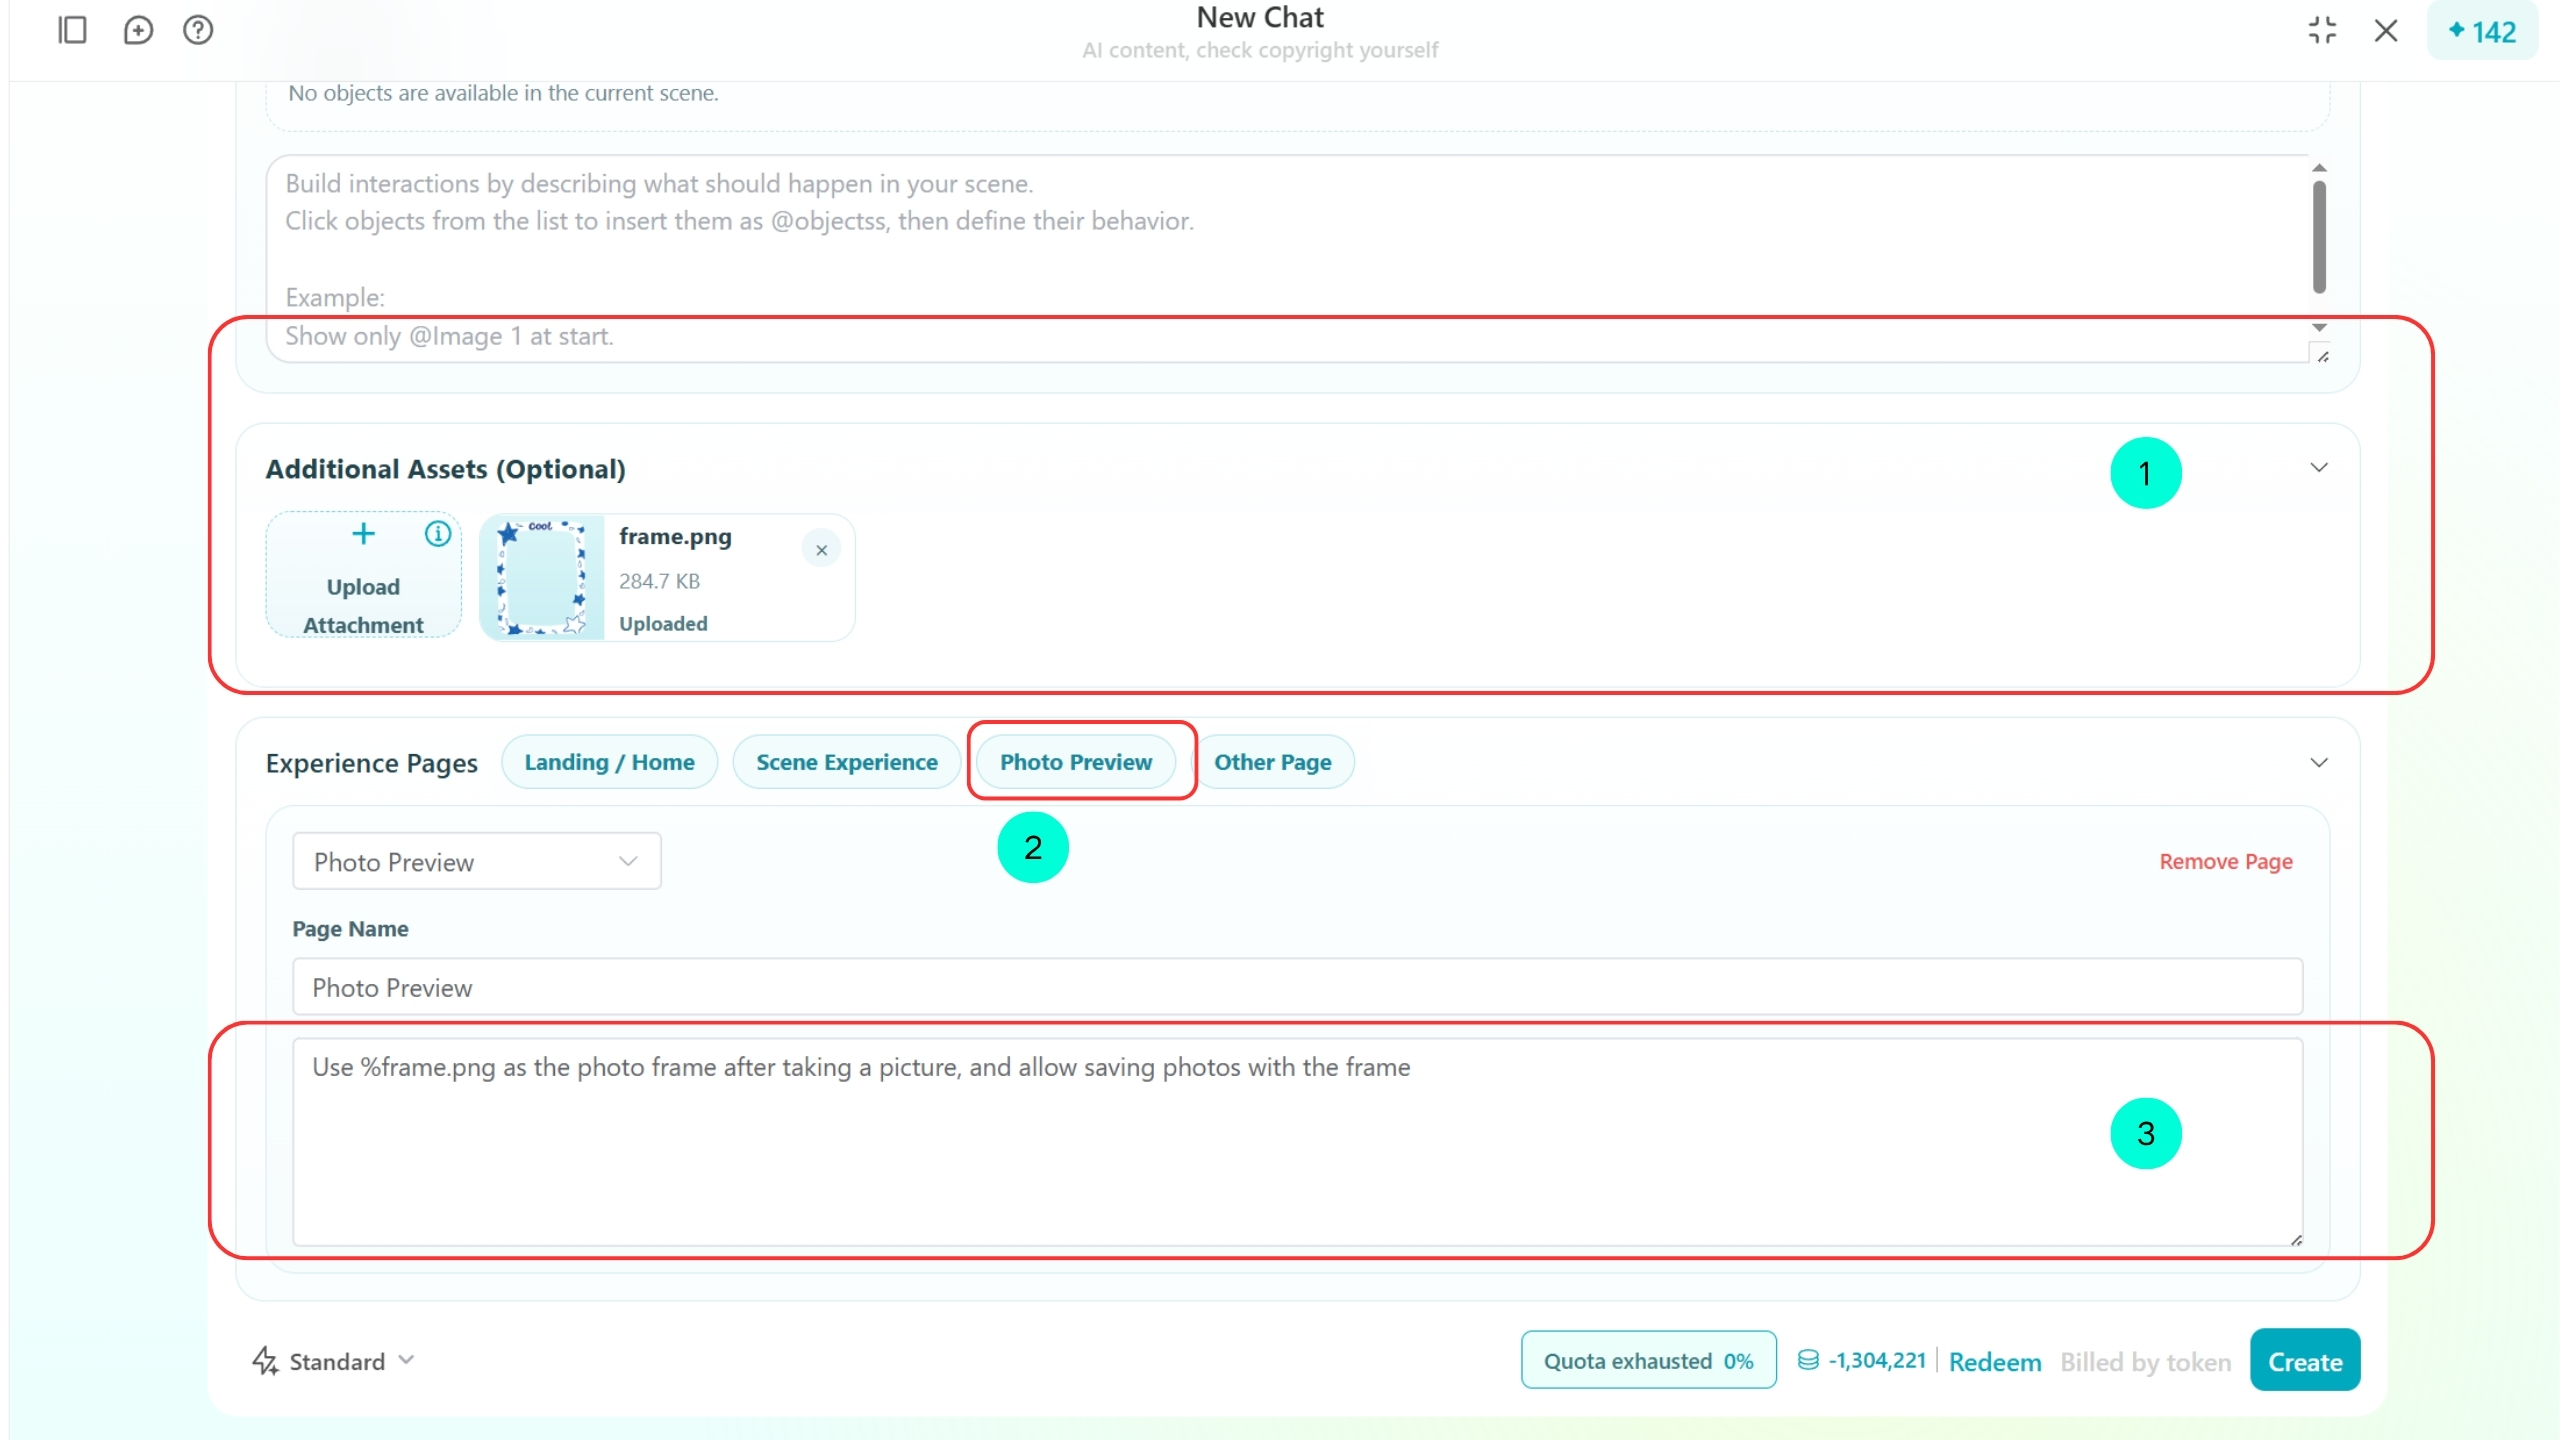
Now, click the photo capture button to save the image with the customized frame.